
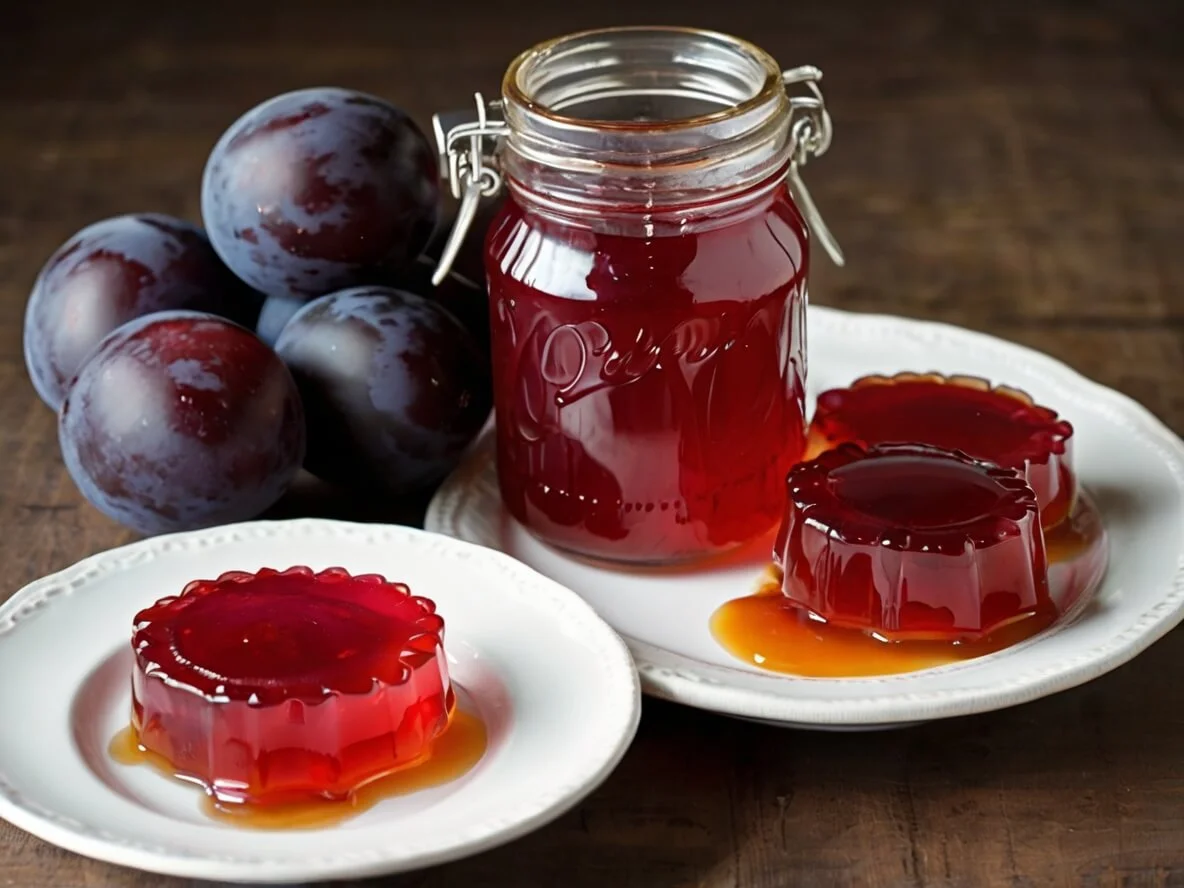
Have you ever stumbled upon a basket of ripe, juicy plums at the farmer’s market and wondered what to do with them? Making your own homemade plum jelly is one of the sweetest ways to preserve that fleeting summer flavor. Whether you’re new to canning or just love filling your pantry with vibrant, fruit-filled jars, this Plum Jelly Recipe is easy, rewarding, and surprisingly fun.
With just a few simple ingredients—fresh plums, a touch of sugar, and a bit of lemon juice—you can create a jewel-toned spread that’s perfect on toast, biscuits, or even swirled into yogurt. And the best part? You don’t need to be a pro to get it right.
In this guide, I’ll walk you through how to make perfect Plum Jelly Recipe at home, whether you’re using pectin or letting nature do the thickening. So grab your plums and let’s turn them into something truly special.
Table of Contents
Plum Jelly Recipe: How to Make Perfect Plum Jelly at Home
5
servings25
minutes40
minutes48
kcalIngredients
4 lbs fresh plums (wild, red, black, or damson), washed and halved
4 cups granulated sugar (or to taste; low-sugar options work too)
1 package powdered pectin (optional, for quicker setting)
2 tbsp lemon juice (for acidity and preservation)
1 ½ cups water (for juicing the plums)
Directions
- Extract Plum Juice
Place plums and water in a large pot. Bring to a boil, then simmer for 20–25 minutes, mashing occasionally until soft. Strain through a jelly strainer or cheesecloth to collect juice. - Cook the Jelly
Measure 4 cups of juice. In a clean pot, combine juice, lemon juice, and pectin (if using). Bring to a boil. Add sugar, stirring constantly. Boil hard for 1–2 minutes. - Test for Set Point
Use the spoon or plate test: drop a bit of jelly onto a cold plate. If it wrinkles when pushed, it’s ready. If not, boil a minute longer and test again. - Jar and Seal
Pour hot jelly into sterilized jars, leaving ¼-inch headspace. Wipe rims, apply lids and bands. - Water Bath Canning
Process jars in boiling water for 10 minutes. Let cool undisturbed for 12–24 hours. Check seals before storing.
Notes
- For a more natural jelly, skip the pectin and cook longer to reduce the mixture until it thickens on its own. It may take 30–40 minutes but delivers a richer, more intense flavor.
Why You’ll Love This Homemade Plum Jelly Recipe
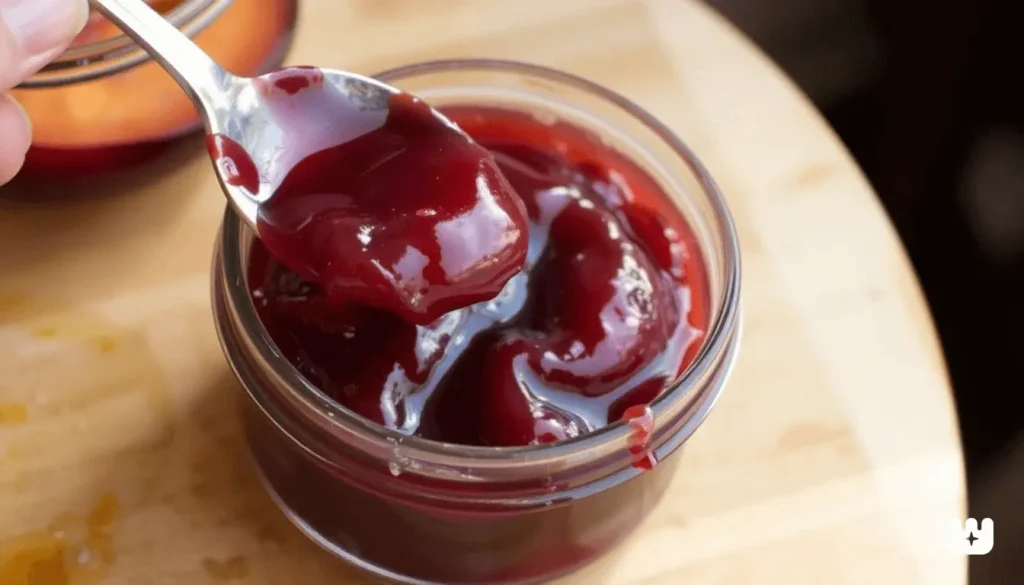
There’s a special kind of joy in making your own Plum Jelly Recipe—something that goes beyond the final product. From the aroma of simmering fruit to the gentle “pop” of sealing jars, every step brings a sense of comfort and accomplishment. And when you finally spread that glossy, jewel-toned jelly on a warm slice of toast, it’s nothing short of magic.
Naturally Sweet, Tart, and Bursting with Flavor
Plums have a complex flavor—deeply fruity with a touch of tang. When turned into jelly, their richness intensifies, creating a spread that’s vibrant, balanced, and full of natural goodness. No artificial flavoring needed—just real fruit doing what it does best
Beginner-Friendly, Yet Loved by Seasoned Canners
This recipe is ideal for anyone new to jelly-making. With simple instructions and flexible options, it’s easy to follow and hard to mess up. For seasoned home canners, it offers a foolproof formula that still allows room for creativity, whether you’re adjusting the sweetness or trying different plum varieties.
Cleaner and Healthier Than Store-Bought Options
Forget the additives, preservatives, and corn syrup often found in commercial jelly. This homemade version uses just a few ingredients—plums, sugar, lemon juice, and water. You control what goes in the jar, making it a healthier, more wholesome choice.
A Smart Way to Use Ripe or Surplus Plums
Got a tree full of ripe fruit or a market haul that’s too good to waste? This recipe is a practical and delicious way to make the most of your plums. You’ll preserve their peak flavor while reducing waste—and homemade jelly also makes a charming, heartfelt gift.
Ingredients You’ll Need for the Perfect Plum Jelly
Before you roll up your sleeves and start simmering fruit, it’s important to gather everything you’ll need for a smooth jelly-making process. This recipe is wonderfully simple, but having the right ingredients—and understanding their role—can make a huge difference in both flavor and outcome. Let’s break it all down.
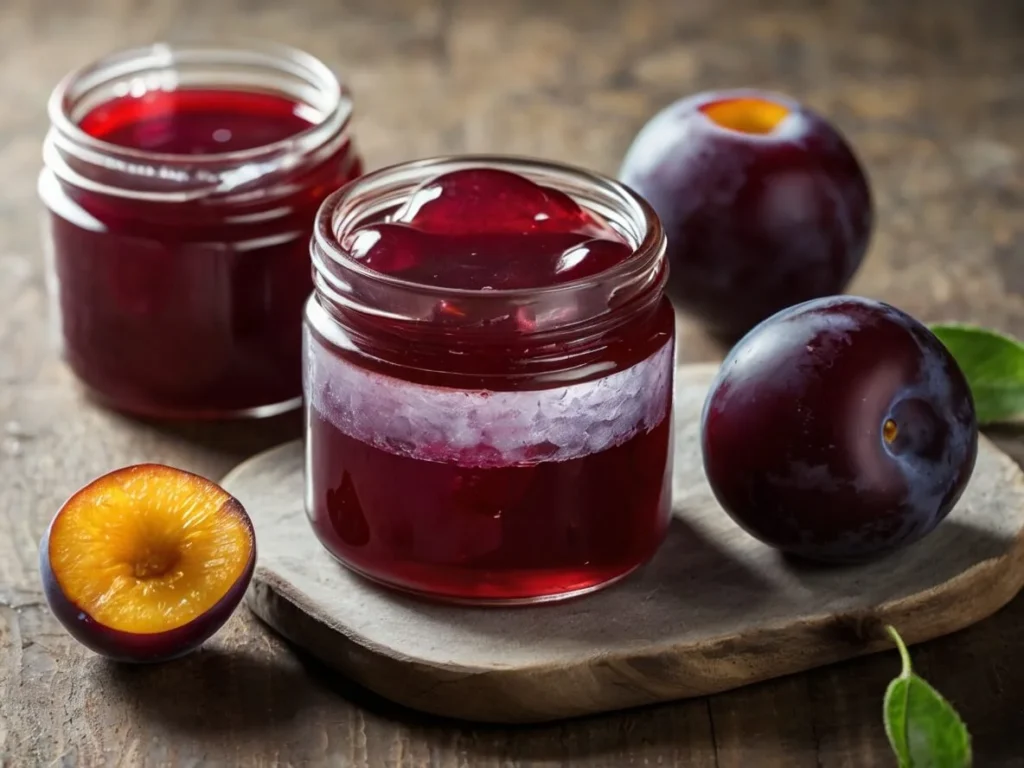
Fresh Plums: The Heart of Your Jelly
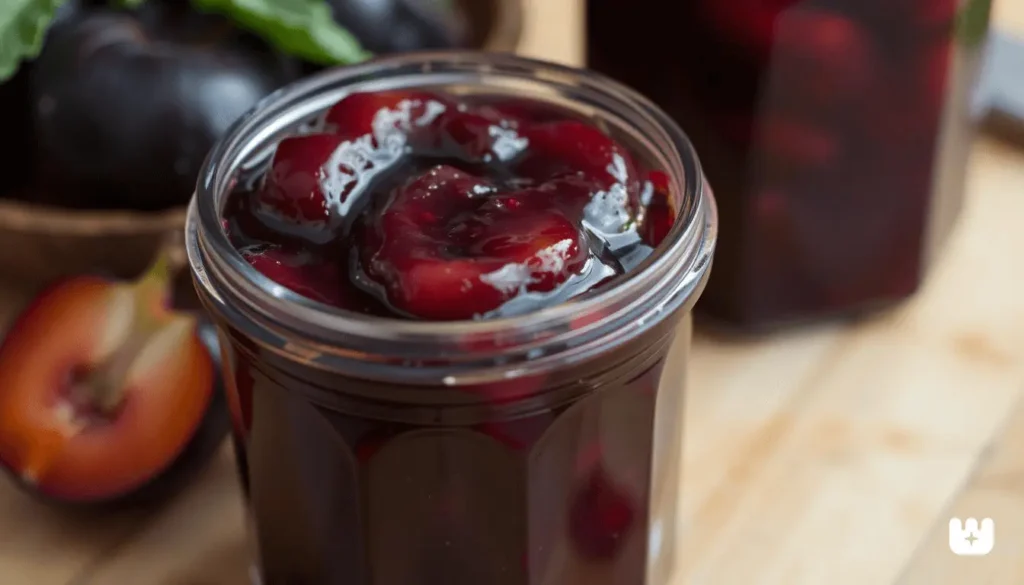
The quality of your jelly begins with the fruit, and plums offer a wide range of flavor profiles depending on the variety. You can use wild plums for a more tart, robust jelly; red plums for a balance of sweet and sour; black plums for their dark, intense flavor and deep color; or damson plums, which are naturally high in pectin and ideal for jelly-making.
If you have an abundance of backyard plums or find a great deal at the market, this recipe is an excellent way to preserve their flavor. Aim for ripe, unblemished plums, and wash them thoroughly before starting.
Sugar: Sweetness and Preservation
Sugar does more than sweeten—it also plays a crucial role in preserving the jelly and helping it set. Regular granulated sugar is the most commonly used and works well with traditional pectin.
If you prefer a lighter jelly, low-sugar or no-sugar pectin allows you to reduce the sugar amount without sacrificing texture. Just be sure to follow the instructions on your pectin package, as sugar ratios may vary depending on the brand and type.
Want to experiment? You can also try honey, agave, or other natural sweeteners with compatible pectin types.
Pectin: To Use or Not to Use?
Pectin is a natural carbohydrate found in fruit that helps jelly gel. Some plums, especially wild or damson, are naturally high in pectin and may not need any added at all. However, if you want consistent results or are using lower-pectin varieties, store-bought liquid or powdered pectin is a reliable option.
Natural pectin is found in the skins and cores of fruit, so if you’re skipping store-bought pectin, make sure to simmer the whole fruit (pits removed) to extract the most thickening power.
Lemon Juice: For Flavor and Food Safety
Fresh or bottled lemon juice adds a burst of brightness that lifts the plum’s natural flavor. But more importantly, it helps maintain the proper acidity needed to preserve the jelly safely. This is especially vital when you’re storing jars long-term, as the right pH prevents the growth of harmful bacteria.
Bottled lemon juice is sometimes preferred in canning for its consistent acidity, though fresh-squeezed can work too if measured accurately.
Water: Just a Touch to Get Things Started
While plums contain a good amount of juice, a small amount of water helps start the cooking and juicing process. You don’t need much—just enough to prevent sticking or scorching when you first heat the fruit. As the plums break down, they’ll release plenty of liquid for a rich, flavorful base.
Optional but Helpful Equipment
You don’t need a commercial kitchen setup to make excellent jelly, but a few tools will make things easier and more efficient.
- Mason jars & lids: Choose half-pint or pint-size jars. Make sure to use new lids for a proper seal and sterilize both lids and jars before use.
- Jelly strainer or cheesecloth: To achieve that beautifully clear jelly, you’ll want to strain out any pulp or skin. A jelly bag or several layers of cheesecloth over a sieve works well.
- Large pot & ladle: A heavy-bottomed pot helps distribute heat evenly, reducing the risk of burning your jelly. A wide-mouth funnel and ladle make transferring hot jelly into jars much safer and neater.
- Water bath canner: This isn’t strictly necessary, but it’s highly recommended if you’re storing jelly unrefrigerated. A 10-minute water bath seals the jars and extends shelf life significantly.
With the right ingredients and a few helpful tools, you’re well on your way to making a Plum Jelly Recipe that’s vibrant, flavorful, and shelf-stable. Now that your kitchen is stocked and prepped, you’re ready for the fun part: cooking!
Step-by-Step Plum Jelly Recipe (With or Without Pectin)
Making Plum Jelly Recipe at home is easier than you might think—especially when you break it down into a few clear steps. Whether you choose to use pectin for a quicker set or go the natural route by reducing the juice, this guide will walk you through the process from prepping your fruit to sealing your jars. Let’s get started!
Step 1: Prepare the Plums and Extract the Juice
Start by washing your plums thoroughly and removing any stems or leaves. There’s no need to peel them—most of the flavor, color, and natural pectin live in the skin. Cut the plums in half and discard the pits.
Place the chopped plums in a large pot and add just enough water to cover the bottom (about ½ cup to 1 cup per pound of fruit). Simmer over medium heat, stirring occasionally, until the fruit is soft and broken down—this usually takes 20–30 minutes.
Once cooked, pour the mixture through a jelly strainer, cheesecloth, or fine mesh sieve into a clean bowl. Let it drip naturally without squeezing to ensure a crystal-clear jelly. For a more rustic finish, it’s okay to press gently and accept a little cloudiness.
Step 2: Cook the Juice With Sugar and Pectin (or Reduce Naturally)
Measure your strained juice and return it to the pot. The amount of sugar you add depends on your pectin choice:
- With store-bought pectin: Follow the pectin package instructions, which will typically call for ¾ to 1 cup of sugar per cup of juice.
- Without pectin: Use about ¾ cup of sugar per cup of juice and prepare to boil longer for natural thickening.
Optional: Add lemon juice (1–2 tablespoons per 4 cups of juice) to brighten the flavor and help the jelly set, especially if you’re not using commercial pectin.
Bring the mixture to a rolling boil over high heat, stirring constantly to prevent scorching. If using pectin, boil for 1 minute after adding it. Without pectin, continue boiling until the juice reduces and thickens naturally—this can take 20–30 minutes.
Step 3: Test for the Jelly’s Set Point
To know when your jelly is ready, use one of the following tests:
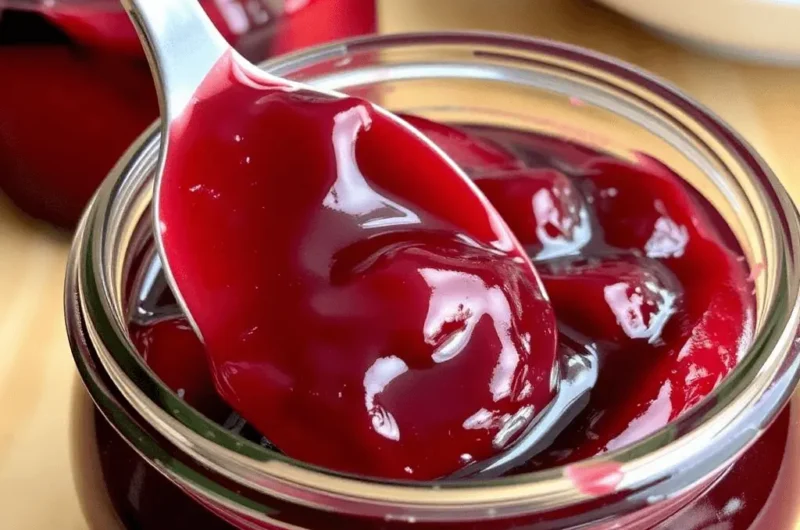
- Spoon test: Dip a cold spoon into the jelly. If it runs off like syrup, keep cooking. If it sheets or drips slowly in thick drops, you’re there!
- Plate test: Place a spoonful of jelly on a chilled plate, then run your finger through it after a minute. If the surface wrinkles, it’s set.
Note: Be patient—natural set jelly may take longer to reach this point without added pectin.
Step 4: Pour Into Sterilized Jars and Seal
Once your jelly reaches the desired thickness, remove it from the heat and skim off any foam.
Using a funnel and ladle, pour the hot jelly into pre-sterilized mason jars, leaving about ¼ inch of headspace. Wipe the rims clean, apply the lids, and screw on the bands until fingertip-tight.
Process the jars in a water bath canner for 10 minutes (adjusting for altitude as needed). Remove and let cool undisturbed for 12–24 hours. You’ll hear the satisfying “pop” of sealing jars as they cool!
Tips for Clear, Glossy, and Perfectly Set Jelly
- For a clear jelly, resist pressing the fruit pulp when straining. Let it drip slowly and naturally.
- Cloudiness or sediment often comes from too much agitation or squeezing during juice extraction.
- To thicken naturally without pectin, give yourself extra cooking time and monitor closely with the plate test.
- Skim foam from the surface of your jelly before jarring for a clean finish and better appearance.
Canning and Preserving Your Plum Jelly Safely
Preserving your homemade Plum Jelly Recipe is a simple and rewarding process that ensures your jars stay fresh, flavorful, and safe to enjoy for months to come. Whether you’re a first-time canner or just need a quick refresher, these beginner-friendly steps will guide you through sterilizing, sealing, and storing your jelly with confidence.
Sterilizing Jars and Lids the Right Way
Proper sterilization is essential to prevent contamination and ensure food safety. Here’s how to do it:
- Wash your jars, lids, and bands in hot soapy water, then rinse thoroughly.
- Place the jars in a large pot or water bath canner, fully submerged in water.
- Boil for at least 10 minutes to sterilize. Keep jars hot until ready to fill (you can leave them in the hot water).
- Simmer the lids (not boil) in a separate pot of water for a few minutes. This softens the sealing compound without warping the lid.
Tip: You can also sterilize clean jars in a 225°F (107°C) oven for 20 minutes, but the boiling water method is more common for jelly-making.
Water Bath Canning Instructions (Beginner-Friendly)
Water bath canning is ideal for high-acid foods like fruit jelly. Once your jelly is poured into hot jars:
- Wipe the rims with a clean, damp cloth to remove any jelly residue.
- Apply the lids and bands, tightening them just to fingertip-tight (not overly tight).
- Lower the jars into your water bath canner, ensuring they’re fully submerged by at least 1 inch of water.
- Bring to a rolling boil and process for 10 minutes (adjust time for altitude if needed).
- Turn off the heat, remove the lid, and let the jars sit in hot water for 5 minutes.
- Carefully lift out the jars with a jar lifter and place them on a towel or cooling rack, undisturbed, for 12–24 hours.
You’ll know they’re sealed when the lids are flat or slightly indented and don’t flex when pressed.
Processing Time and Storage Guidelines
- Standard processing time is 10 minutes for half-pint or pint jars.
- For altitudes above 1,000 feet, add 1–2 minutes based on your elevation.
- Once sealed and cooled, remove the bands and check that the lids are tight and secure.
- Label your jars with the jelly type and date using a waterproof marker or pre-printed labels.
- Store in a cool, dark place like a pantry or cupboard for up to 12 months.
Unsealed jars should be refrigerated and used within 3 weeks.
Tips for Long-Lasting, Beautiful Preserves
- Keep jars away from direct sunlight to preserve color and flavor.
- Avoid stacking sealed jars too tightly to prevent lid damage.
- Store without rings to avoid rust and allow for easy seal checks.
- Always inspect a jar before use—look for bulging lids, off smells, or mold, and discard if in doubt.
FAQs
1. What can you use Plum Jelly Recipe for?
Plum jelly works beautifully in both sweet and savory dishes. Spread it on toast, biscuits, or muffins for a quick treat. Use it as a glaze for pork or chicken, pair it with cheeses on a charcuterie board, or swirl it into yogurt, oatmeal, or desserts.
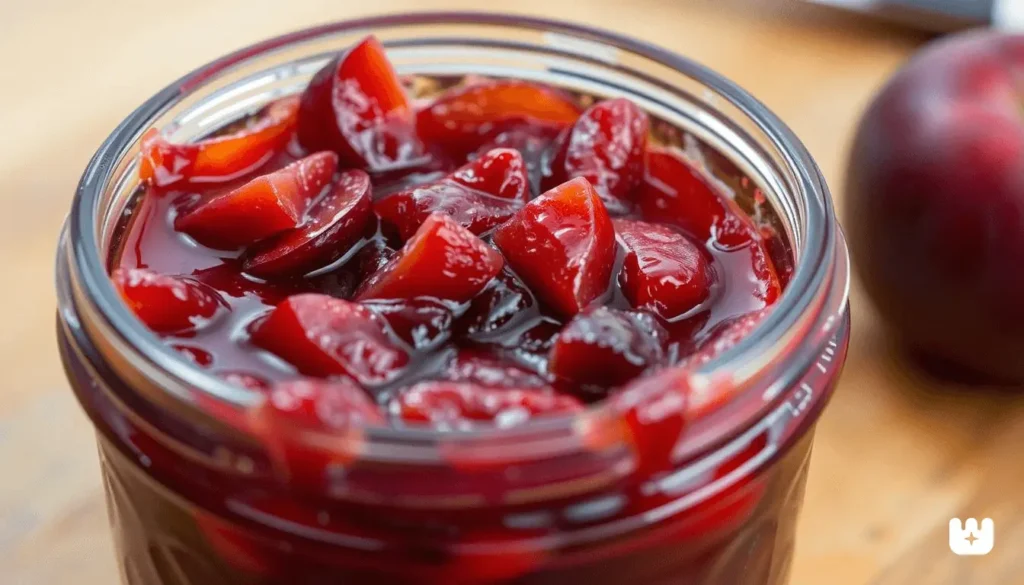
2. What’s the difference between plum jam and plum jelly?
The key difference lies in texture and fruit use. Plum jam contains chopped fruit, offering a thicker, chunkier spread. Plum jelly uses only strained juice, which gives it a smooth, clear consistency.
3. Do I need to peel plums for jam or jelly?
No peeling required! The plum skins contribute flavor, vibrant color, and natural pectin. When making jelly, you’ll strain the skins out. In jam, they soften during cooking and blend into the mix.
4. How do you make plum jam at home?
To make plum jam, chop ripe plums and remove the pits. Cook the fruit with sugar and lemon juice until it thickens. You can add pectin or let it reduce naturally. Unlike jelly, you’ll leave the fruit pieces in the mixture.
5. Why add lemon juice to plum jam or jelly?
Lemon juice increases acidity, which helps the jelly or jam set and stay fresh. It also enhances the flavor by balancing the sweetness with a subtle tart note.
6. What can I make with a lot of plums?
You can make so many delicious things! Try plum chutney, sauces, cobblers, fruit leather, cakes, or even homemade plum wine. You can also freeze or dehydrate them to enjoy later.
7. Can you freeze plums and make jelly later?
Yes, you can! Wash, pit, and slice the plums before freezing them in airtight containers or freezer bags. When you’re ready, thaw the fruit and use it just like fresh plums for jelly-making.
8. Is it OK to eat 2 plums a day?
Definitely. Plums are rich in fiber, antioxidants, and essential vitamins like A and C. Eating one or two daily is a healthy choice for most people—just be mindful of your sugar intake if you’re monitoring it.
9. What alcohol is made from plums?
Plums are used to create a variety of alcoholic drinks. Eastern Europe produces slivovitz, a traditional plum brandy. Japan makes umeshu, a sweet plum liqueur. You’ll also find plum wine and other fruit-based spirits in different cultures.
Your feedback helps us grow – drop a comment ❤️
There are no reviews yet. Be the first one to write one.